Wednesday, 1 July 2015

Drawing Journey Part5 - Dark Side of Drawing Board

Side Two- Part3   

At the beginning of making this board I had no clue what to do with other side. Initially I just wanted to paint in with acrylic paint but after the inking side one I got into a flow and could not stop with playing with inks.
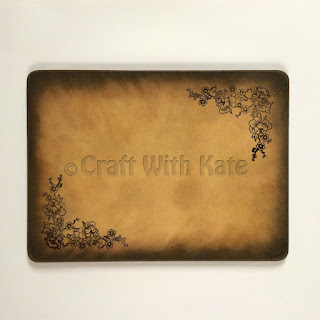
First of all I covered the whole surface with Distress Vintage Photo ink in random directions.

With the wet blending tool I applied Distress Walnut Stain ink about 5cm around the edges and carefully blended distress Black Soot ink in few anticlockwise rounds while the board was still wet .

As it looked quite harsh I took the piece of bathroom sponge, which I wetted quite often, and applied a lot of pressure while was smudging the ink pigment in outward direction (from the center to the edge). The smudging  was repeated few times.

When everything was dried I took an acrylic block, a jet black Dovecraft pigment ink, a big clear stamp and stamped the flowers into two opposite corners.

I am totally ready for my drawing adventure now.

The end :)

Tuesday, 30 June 2015

Drawing Journey Part4 - Drawing Board Butterflies

Side One - Part 2

The real fun came after I'd done the base for the clip board.

I used a blending tool for stamping and in circular motion applied Distress ink Antique Linen for approximately 10cm all around the edges in inward direction (from the edge to the center of the board) . This type of ink is water based so to ensure nice even blending I frequently damped the blending tool into water and I made sure that there were no rough visible marks left, just nice smooth shading.

Then I switched to darker ink- Distress Vintage Photo. I used the very same technique as the first time but this time I was shading just about 7cm from edges.

Lastly I used darkest Distress Walnut Stain ink and did just about 2cm from edges. All the blending created a pretty graduated shadows around the edges.

After everything dried out I applied Distress Antique Linen ink again but just for this time I left the blending tool behind and used a tiny bit of bathroom sponge. I did moist it a little with water, inked all over the board from the center to edges direction and let it dry again.

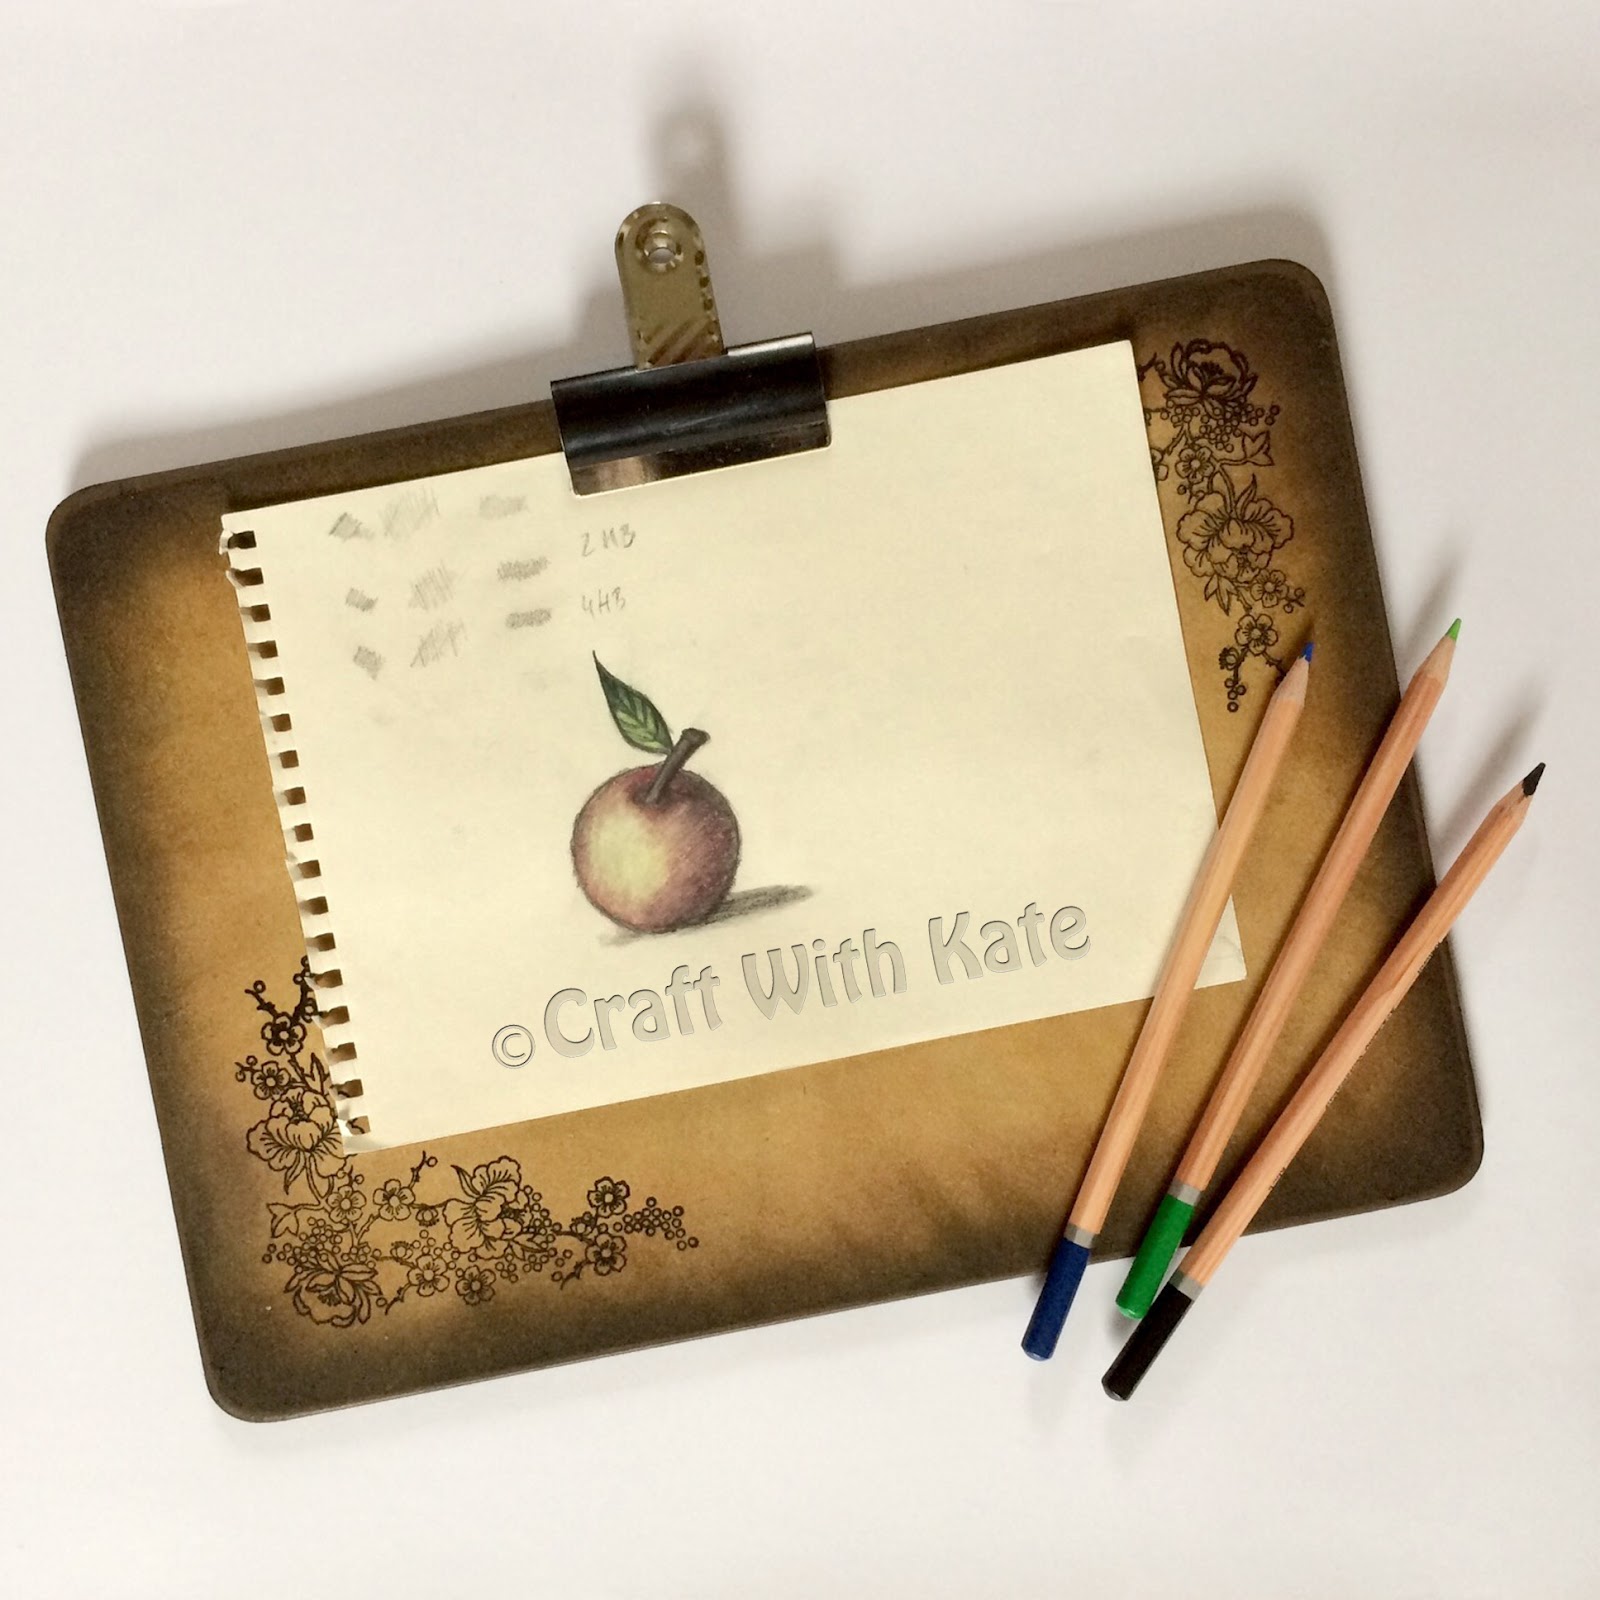
When I was happy with shadows on the board, I used Dovecraft Premium Cocoa Brown pigment ink, acrylic block and four different types of clear stamps - corner flowers. monarch butterfly, small butterfly and single flower.

Gloss varnish was applied once board was dried again.

And I was ready for the other side.

To be continued . . . . . . .  :)

Monday, 29 June 2015

Drawing Journey Part3 - Making Drawing Board

Making a base -  Part 1

I had some fiberboard leftover, from my previous project, which was perfect for making myself a double sided clip board.

The fiberboard was cut on half as I wanted to glue it together to make it more sturdy and I accidentally had enough to make it size 22x30 cm. It meant that European paper size A4 could nicely fit in which was great.

All four corners were cut to make them curved, then I used a super strong double sided tape and stuck both halves together. I have managed to put the whole thing through my Sizzix Big Shot machine to press them firmly together.

All edges were sandpapered for about 25 minutes with a fine sandpaper to make it super smooth and lastly they were painted with brown acrylic paint.

And then I went crazy with decorating it.

To be continued .  .  .  .  :)

Sunday, 28 June 2015

Drawing Journey Part2 - Supplies

Okey, so I have managed to gather all my drawing  supplies and in fact I had many of them home, as you can see bellow, which was a bonus point as I saved myself some money :)

If you are planning to take up drawing or sketching I do strongly recommend to go through all your staff - I was very surprised that I had almost everything home already.

The list of materials I have:

- pencil sharpener (I already had)
- eraser (already had and I did not bother to buy the putty one)

- Staedtler tradition pencil 4H (did buy it)
- Staedtler tradition pencil 2H (did buy just in case I will need it)
- Staedtler Mars Lumograph pencil H (had it)
- WHSmith sketching pencil 2B (had it)
- Staedtler tradition pencil 4B (had it)

- Goldline A5 sketch pad 95gsm yellow tinted (had it for some reason)
- The Works own brand A5 sketch pad 130gsm white (did buy but just because it was very cheap)

- A4 clippboard (I am going to make one so stay tuned for the pictures)

And I am all set up now :)

Note: I think it would be a good idea to write down some ground rules in order to avoid any beginner's frustration... but that could be a next post

Saturday, 27 June 2015

Drawing Journey Part1 - Idea was Born

I had a passionete discussion  recently about what is a skill and what is a talent with one of my best friends. He thinks I am "craft" talented while I think that I just have skill. I did have a trouble to understand the difference until I read in some online article that the talent is some sort of vehicle, lets say a car, which takes you to the destination faster BUT if you do not posses a talent you can became skilled and be great in whatever you choose.

I wanted to take this theory into a reality test so I've decided to learn how to sketch and draw and be great in it with or without talent. I do not have ANY drawing backround except drawing a stick man and few funny faces :)

For the start, I did an extensive research on how to draw for absolute beginners. Was really supprised there is virtually no book or resources for people like me. All of them assume some sort of knowledge or they were not as detailed as they could be and I got lost after few minutes.

Then luckily enough finally found two books which I could use as a reference for my learning without to go to college or other drawing class. Not to name them  I shall say the BOOK1=very basic, very simple,written simply way even I or child can make a sense of it, great starting point and the BOOK2=written more professional way, good resource, still make sense, you need to have a some understanding of drawing otherwise it could become overwhelming.

OK so book 1 recommends to take any pencil, any paper and eraser to start with while the other recommends more professional approach - sketch pad or paper, drawing board, pencil 4H (hard), HB (middle) and 4B (soft) and erasers vinyl and kneaded and of course lots of additional supplies.

I think I will go for the mixture of both recommendtions and I will be back once I gather all materials.

Wish me luck :)

Thursday, 25 June 2015

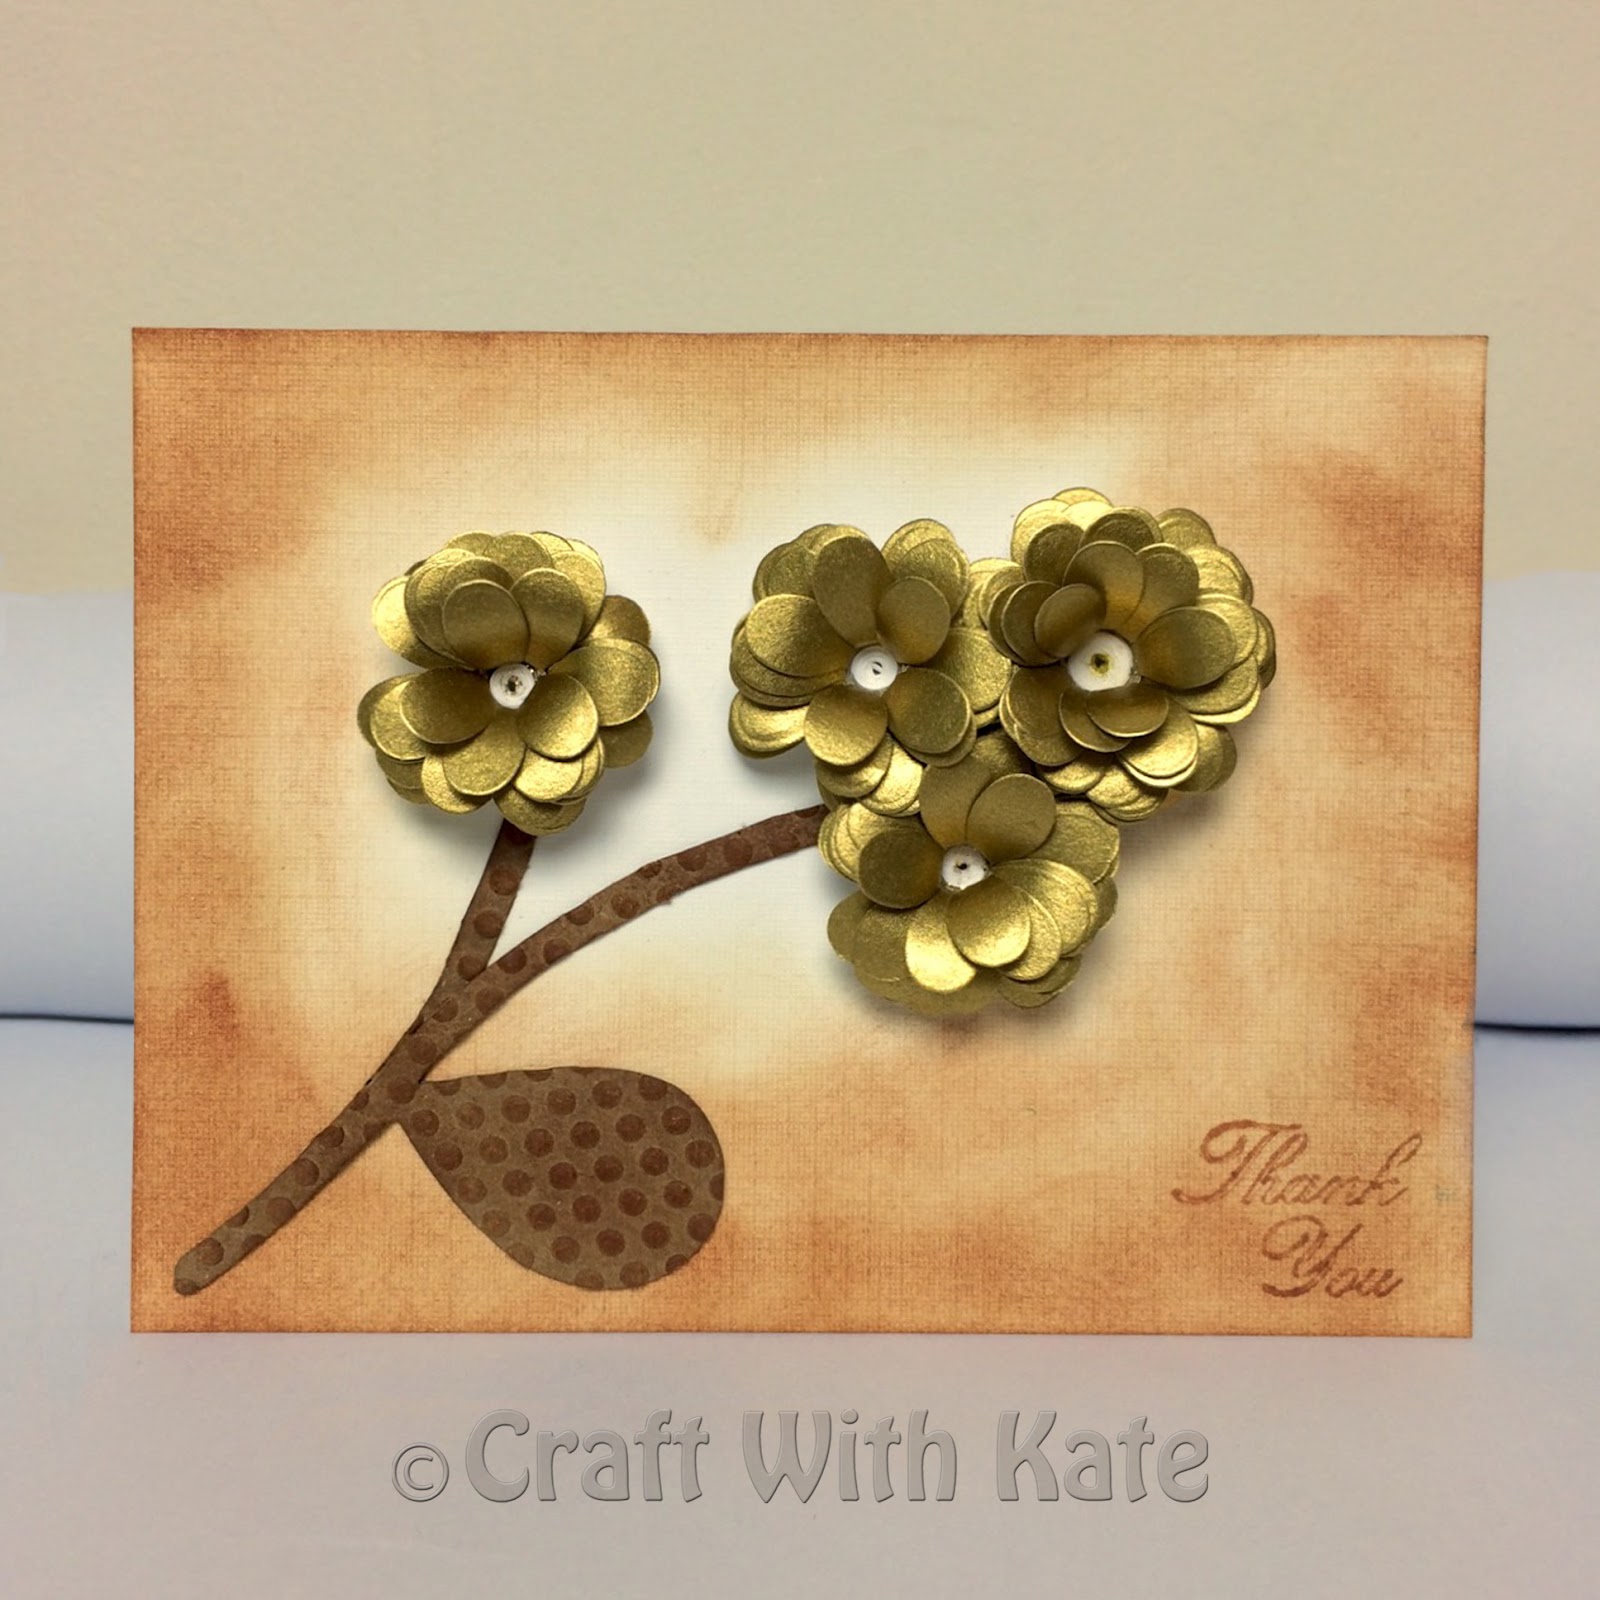
Thank You Card

I love recycling and had some paper "waste" laying around my flat. I used a metal die to cut some petal strips out of a gold envelope and then I quilled them into a blossom flowers. I did emboss a thin cardboard piece from an old box and I applied a brown ink to make the dots pop up a little. Everything was glued onto a white cardstok which came with some stickers I'd bought few months ago. The cardstock was inked before hand by using an old small clean make-up sponge and lastly I stamped a "Thank You" sentiment.

It will go to my very good friend. Hope you liked ;)

Sunday, 8 February 2015

Recycling: From Old Mags To Baskets

Instead of  wasting old magazines or newspapers you can put them in some good use.

All you need for making these baskets is some paper, glue and some varnish or paint for last touches if you prefer to.

Good thing about making your own is that you can customize the size and shape to fit it in your specific needs and it is great fun too :)


Monday, 24 November 2014

Tatting Tuttorial for Complete Beginners #12 Joins


Tatting tutorial about how to make basic joins in traditional tatting.

Watch & Enjoy :)

P.S: English subtitles coming soon

Friday, 21 November 2014

Dolinka the Sheep


I was so proud of myself when I had a look at finished Dolinka so I have to share :)

The original pattern is called Dolly the sheep Amigurumi fluffy toy design by LittleOwlsHut and can be found for FREE on Ravelry (you have to have an account to access it but it is also for free ).

Pattern on its own is quite easy just the shaping the nostrils could be possibly tricky. However, if you follow pictures in the pattern you can make some sense of it :)

Notes to myself:

STUFFING - use some old cotton shirt previously shredded into approximately 1cm wide stripes. It's always a good idea to recycle something.

WOOLY TEXTURE - for wooly texture of the body use a hair brush with artificial boar hair and gently brush over the acrylic yarn until desire texture is achieved.

TAIL - crochet simply tail instead of using a button. It's more cute :)

HOOVES - Rnd1= in magic ring 6sc (6 sc); Rnd2= inc 2 in each sc (12 sc); Rnd 3-5= sc into each sc (12 sc); Rnd6=*dec, 2sc* reapeat 2 times more (9sc); continue with white yarn for legs=20x round of 9sc